Tab Group feature in Edge browser allow users to combine different tabs into organized groups. The feature is useful for the users who have a habit of visiting plenty of websites, and it annoying to find the tab which you have opened a long time ago.
Enable and Use Tab Groups in Microsoft Edge
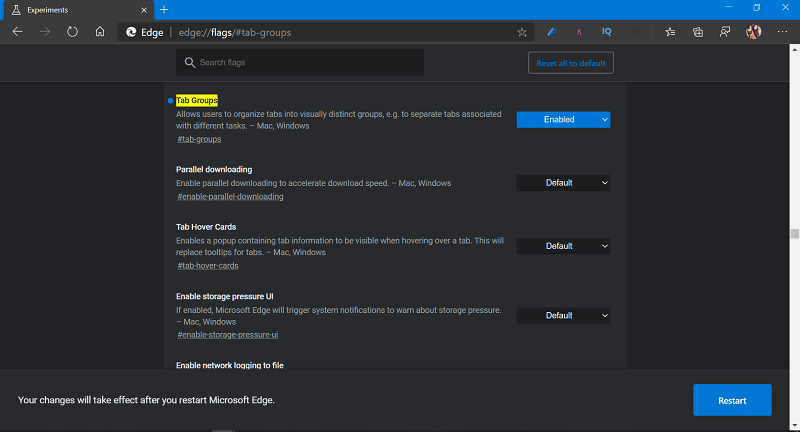
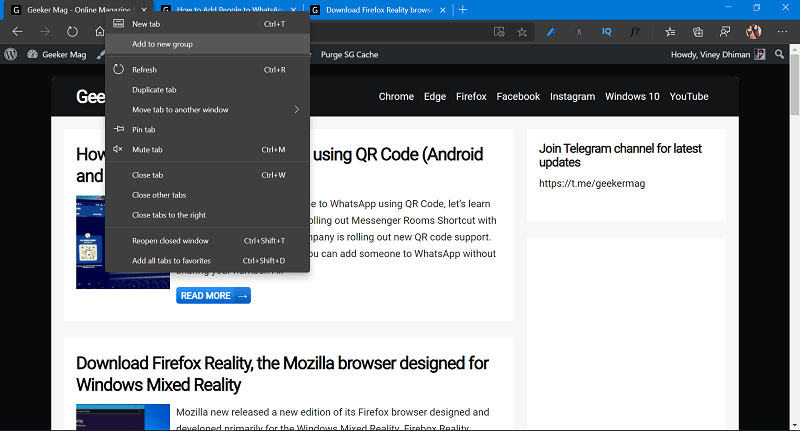
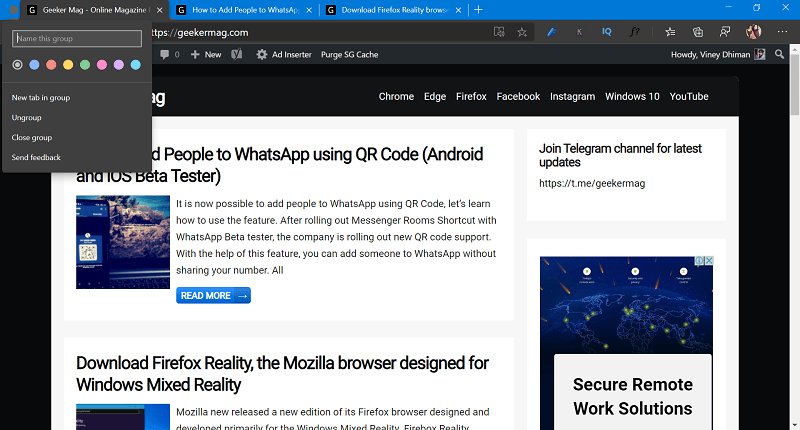
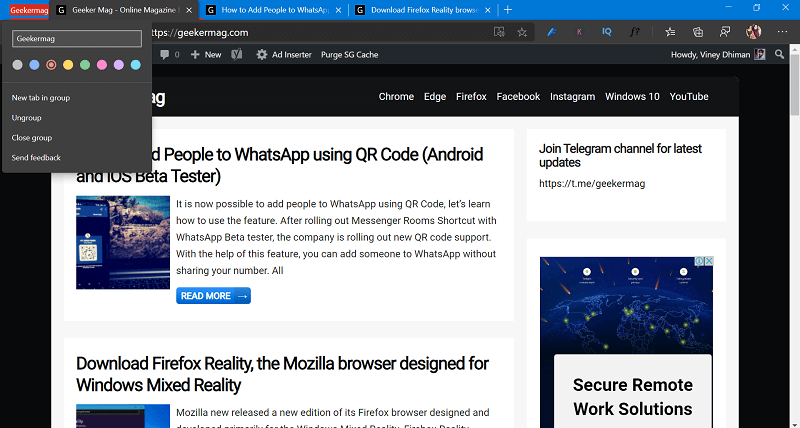
With default settings, the feature is hidden behind experimental flags and users have to enable it manually. If you want to try this feature, then here’s how you can enable and start using the feature: Launch Microsoft Edge browser on your computer. Make sure, you running the latest version of Edge browser available. Next, you need to visit edge://flags/#tab-groups and change the settings for Tab Group feature Default to Enabled. Click on the Restart button to apply the changes. At this point, you have successfully enabled the Tab Groups feature. Now to create a tab Group in Edge browser, here’s what you need to do: In Edge browser, right-click on the site tab which you want to add into Tab Group and from the menu select Add to New Group. Next, you will see a color dot on the left side of the tab. Click on it, here you can type name and select color for group. This is how it looks like: To add another tab to this tab groups, head over to tab and then right click and select Add to Existing group > Group (in which you want to add). Instantly the same tab will start appear in the Tab group. You will see same color bar at the bottom of the tap. Check this: That’s all about this Tab Groups feature in Microsoft Edge