More so, the issue is most likely influenced by a configuration conflict between your computer and the Java Virtual Machine, which prevents the computer from understanding the command from the Java program. If you are here reading this, you likely have encountered this problem and are looking for a solution. Without further ado, let’s get started on how to fix the could not create the java virtual machine error on your computer so you can resume using java-based applications without any issues. Also Read: Fix Minecraft launcher is currently not available in your account
Fix Could Not Create The Java Virtual Machine Error
Whenever you get could not create the java virtual machine error on your computer, these are the best approaches to resolve it:
- Ensure the correct version of Java is installed on your PC
- Run Java as Administrator
- Increase RAM allocation for Java Virtual Machine
- Uninstall and Reinstall Java So, to start troubleshooting, let’s discuss in detail how to perform these solutions
1. Ensure The Correct Version Of Java Is Installed On Your PC
Before proceeding to other solutions, you should check if your Java installation is valid. As mentioned before, the apps you are getting issues with are Java-based and can run with proper Java installation. Hence, to confirm if you’ve installed Java properly on your computer, follow these steps:
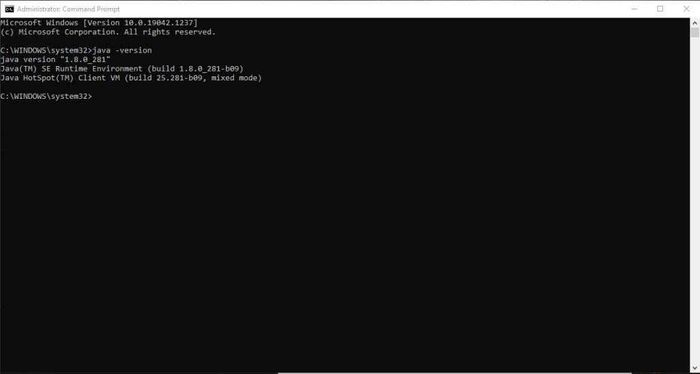
- Type Command Prompt in Windows Search Box and select Run as administrator.
- Enter the following command and press Enter. If you have installed Java very well on your computer, you should see a result like the one in the image above, showing the details of your Java installation. READ: How to Fix Microsoft Store Not Working on Windows 11
2. Run Java As The Administrator
You may need to enable the Java admin right to be able to fix this issue. Here is how:
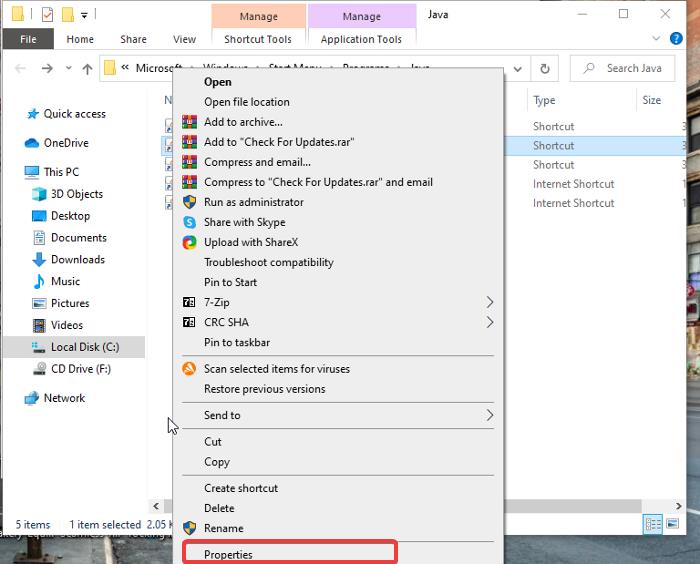
- Search Java in the Windows Search box, right-click the result and click Open file location.
- Your computer will take you to File Explorer; now, right-click the Jave.exe file and select Properties.
- Switch to the Compatibility section and check the Run this program as administrator box and then hit OK. After this, try to open the application showing error again and see if this solution has resolved the issue.
3. Increase RAM Allocation For Java Virtual Machine
Most of the time, the reason for getting the could not create the java virtual machine error message is because of insufficient virtual machine memory. Moreover, there is a specific amount of memory allocated for JVM to run programs. So if any program on your computer needs to use more memory than that, you’ll definitely get an error message. However, you can increase the RAM allocation for JVM by:
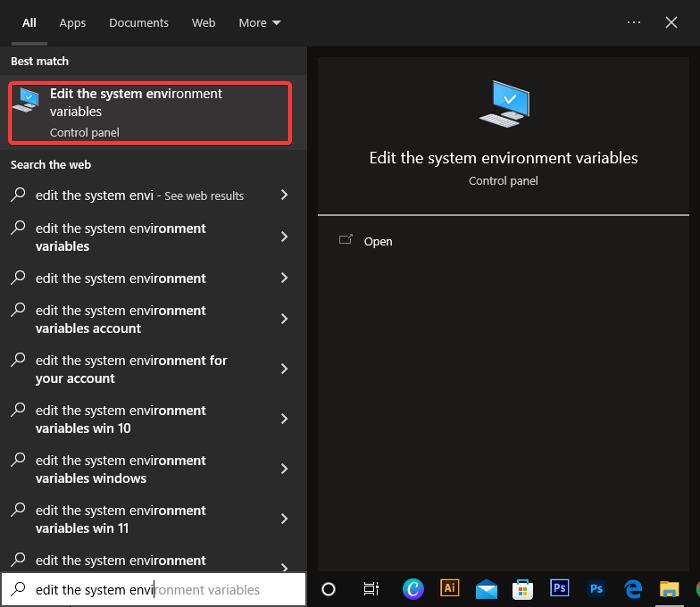
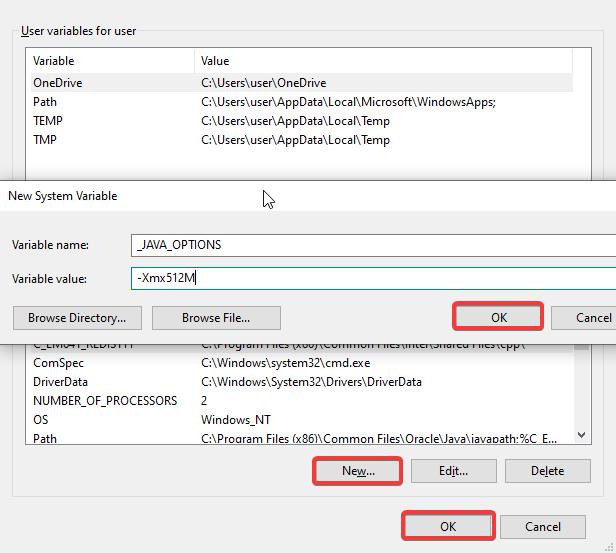
- Type Edit the System Environment Variables in Windows Search Box and open it.
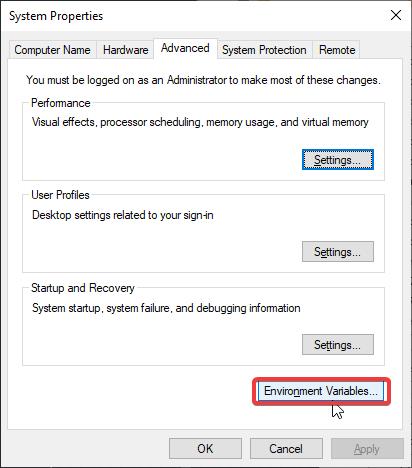
- In the resulting window, click on Environment Variables.
- Under the System variables, hit New and enter these as Variable name and Variable value, respectively.
- Afterward, click OK.
- Select OK again to save the changes. This tweak will add additional space to your VM memory; you can then relaunch your application.
4. Uninstall and Reinstall Java
If none of these solutions work, you should uninstall and reinstall Java on your computer as the issue is likely due to faulty Java installation. Here is how to uninstall Java;
- Press Windows + R keys to open Run Command Box
- Type appwiz.cpl and select OK.
- On the resulting window, look for Java and select Uninstall.
- Click Yes to confirm the action
- After completely uninstalling the app, download the latest Java version. However, make sure you download the 32-bit version if your computer is 32-bit and 62-bit for 62 bit computers to prevent the issue from occurring again.
What does could not create Java Virtual Machine means?
If you are getting the could not create the Java Virtual Machine error on your computer while trying to run Java-based applications, it means there is an issue with your JVM and, as a result, can communicate with your computer to run applications. Likewise, it may be because the Java Virtual Machine has a limited memory size and can’t create the run-time environment for the program.
How do I troubleshoot Java Virtual Machine errors?
You can troubleshoot Java Virtual Machine error by performing one or more of these fixes;
- Run Java as Administrator
- Increase RAM allocation for Java Virtual Machine
- Uninstall and Reinstall Java
How do I know if JVM is installed?
To know if you have installed Java Virtual Machine correctly on your computer, follow these steps:
- Go to Windows Search Box and type Command Prompt.
- Select Run as administrator to open the program.
- Afterward, type the following command and press Enter on your keyboard.
- If the resulting message is the one indicated below, then JVM is installed on your computer
- If not, or if the version is lower than “1.4”, you will have to install JVM on your desktop. To do that, you can follow this link.
Final Words
As frustrating as this issue can be, performing these solutions will surely help in fixing could not create Java Virtual Machine error. Although you may have to try out multiple solutions before getting to the one that’ll fix the problem, it’s recommended to increase your RAM allocation for Java Virtual Machine first before trying others. Also, let us know if the solution works for you in the comment section below. RECOMMENDED READS: How to Find WiFi Password Using CMD in Windows 10 How to Rollback NVIDIA Drivers in Windows 10 How to Fix Jurassic World Evolution 2 Shadow or Graphical Bug After NVIDIA Driver Update