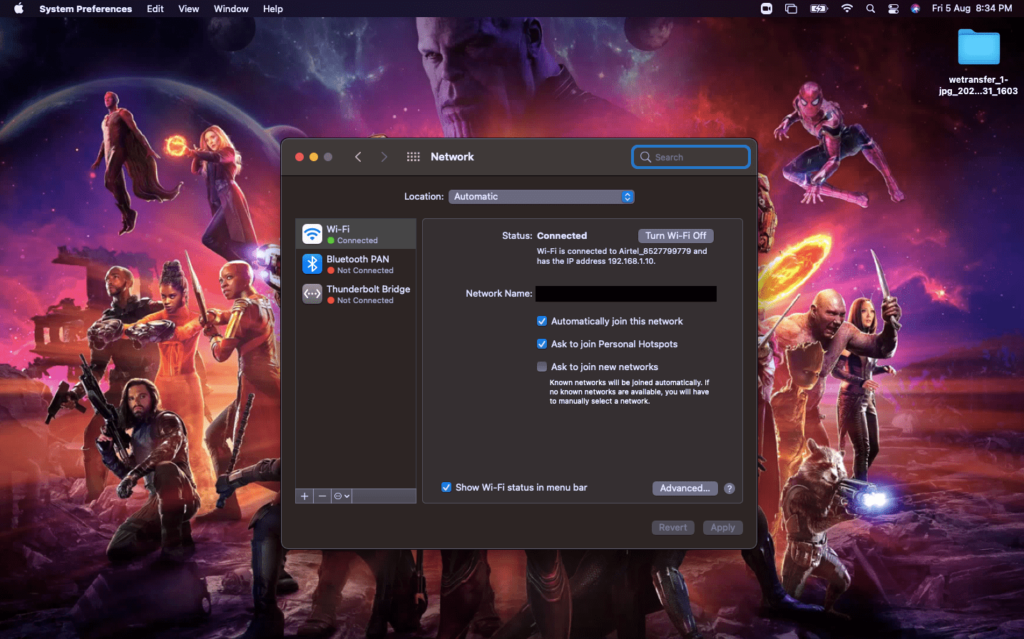
Check If Mac Is Connected To The internet
Before we start with the steps, let’s assume you already have the Zoom app installed on your Mac. If not, please head to the App Store on your Apple laptop and install the app. Once you install the app, if you face the same issue, please check if the MacBook is connected to the internet. Zoom often throws an error because of the slow and sluggish Internet connectivity. In this case, you can check our guide on How to Fix Your Internet Connection Is Unstable Zoom Error. Ensure that you have a working Internet connection and it’s working as intended for Zoom to work as intended.
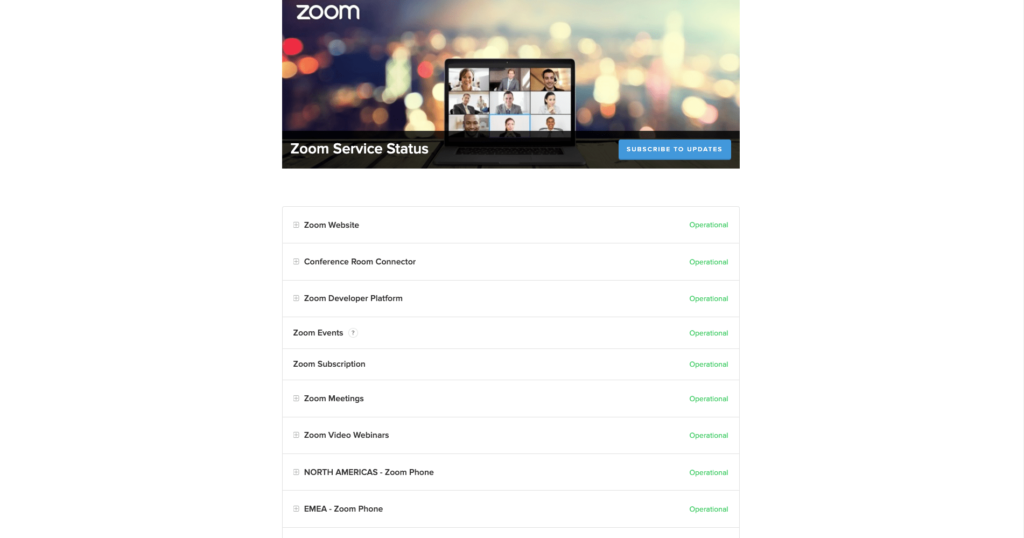
Check Zoom’s Server Status
If you’re still facing the error after ensuring that your internet connection is fast and working as it should, the problem must be on the other end. In rare cases, Zoom’s servers might experience an outage, and the app might act out. If you are sure that the internet at your end is working fine and Zoom is still giving you grief, head to the Zoom Status page and check that everything listed is green and operational. If you see anything in red, you might have to wait till the issue is fixed.
Give Zoom The Required Permissions
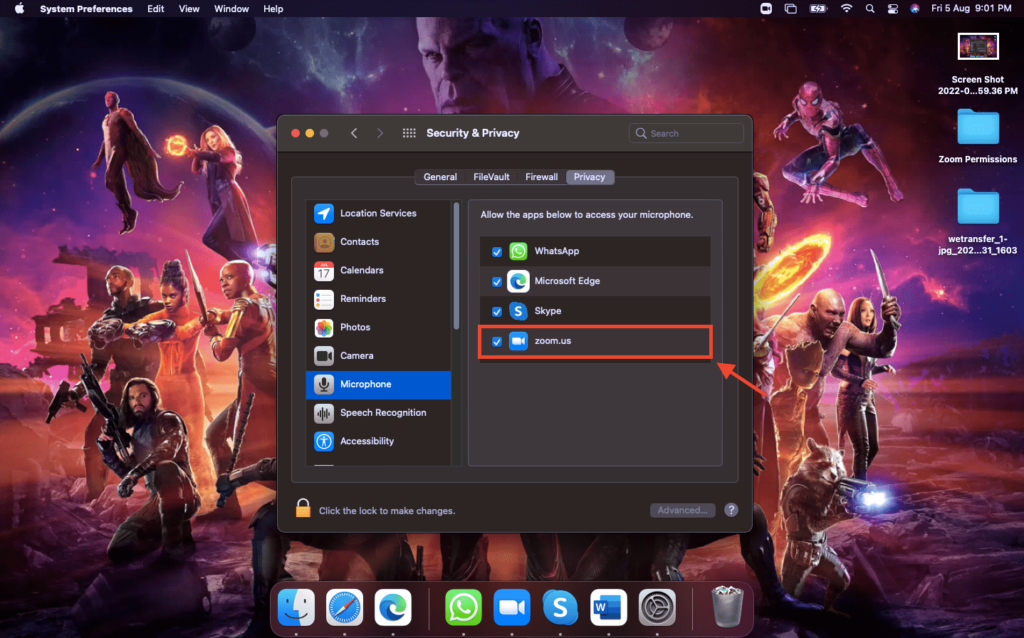
To perform well, Zoom needs permission access to the microphone, camera, and a few other processes. It is essential to ensure that the app has all the correct permissions to offer a good video conferencing experience. To enable these permissions, follow the below steps.
- Go to Desktop and click on the Apple logo on top.
- Select System Preferences from the context menu.
- Next, click on Security & Privacy.
- Go to the Privacy tab.
- Click on Camera on the left sidebar and ensure that zoom.us.app is checked. If not, click on the lock icon in the bottom left corner, enter your MacBook password, and add Zoom.
- Similar to camera access, ensure Zoom has access to the microphone.
- Click Files and Folders on Catalina and Big Sur, and check the Zoom box to share and save files on Zoom.
- Click on Screen Recording and check Zoom to share your screen on the Zoom app.
Quit Other Apps Using Mac’s Camera And Mic
Since Zoom needs access to the camera and microphone on your MacBook, it cannot function properly if another app is accessing these in the background. These apps could be other video calling tools like Skype or MS Teams. Quit these apps using the steps below.
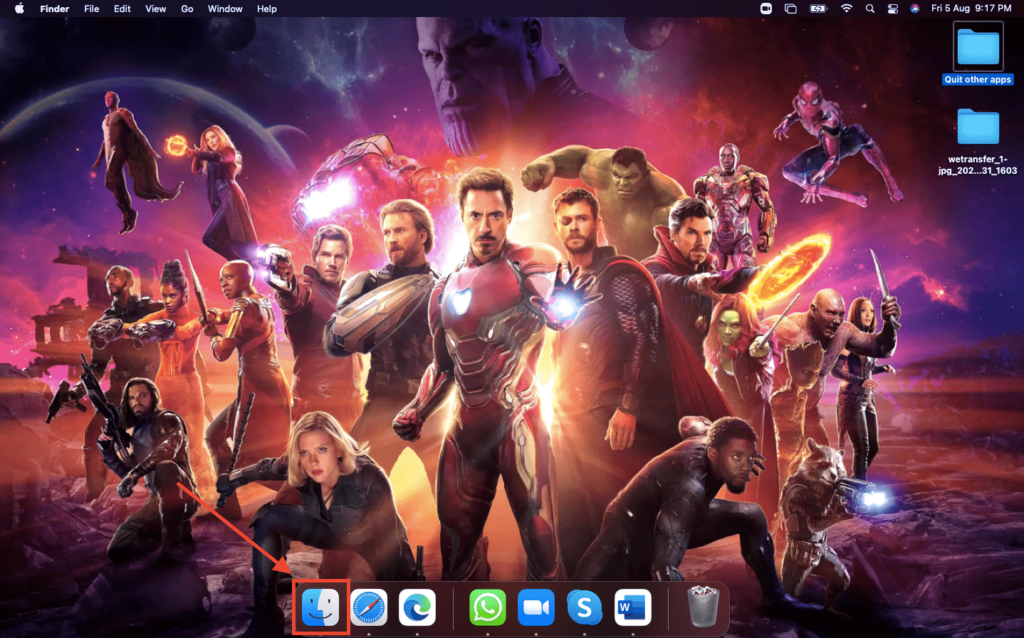
- Click on the Finder icon in Dock.
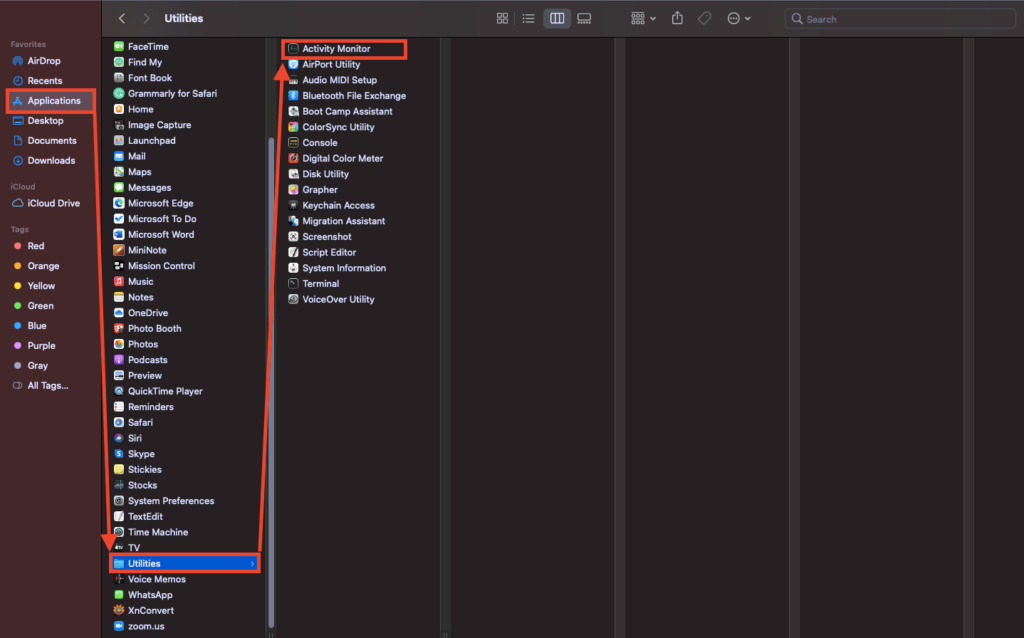
- Select Applications from the left sidebar.
- Go to the Utilities folder and click on Activity Monitor.
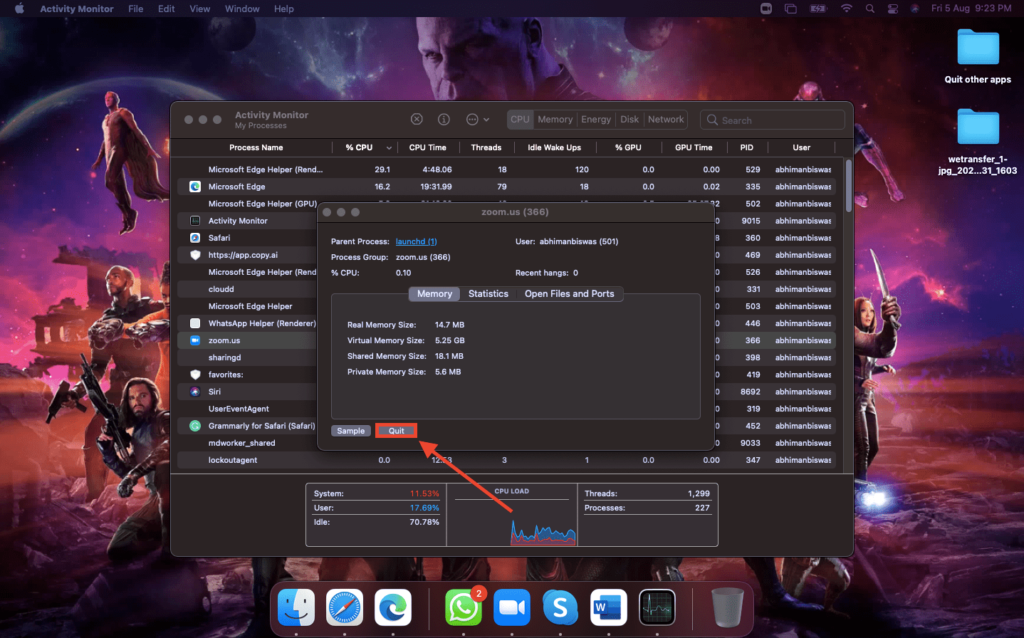
- Find the app that could be using the camera and mic.
- Click on the app name and the Quit button to close it.
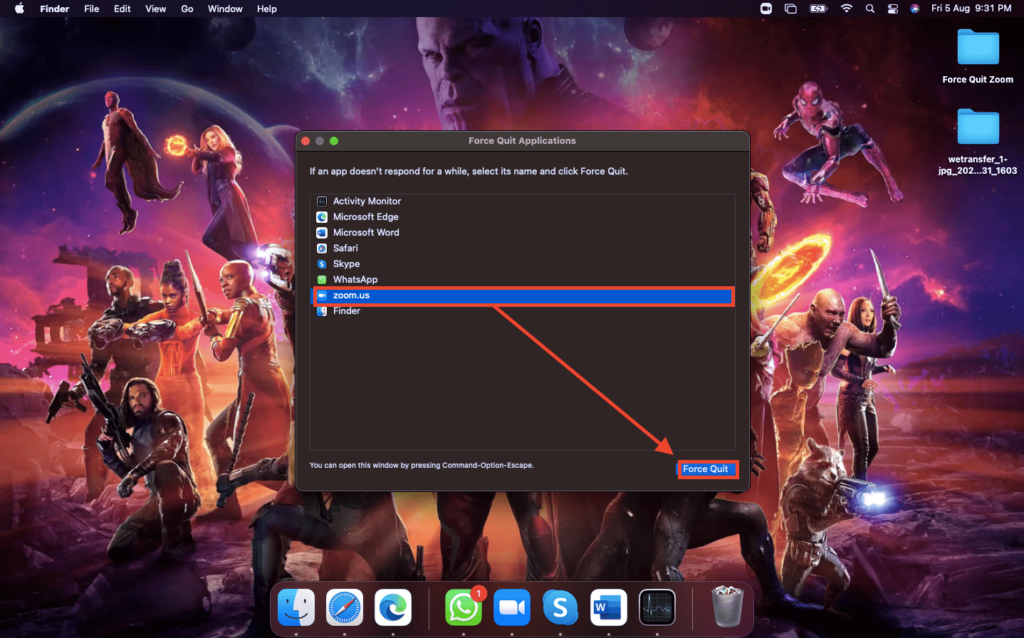
Force Quit The Zoom app
You can also force quit and restart the Zoom app to resolve any issues with Zoom on your Mac. Follow the steps below to force quit the app.
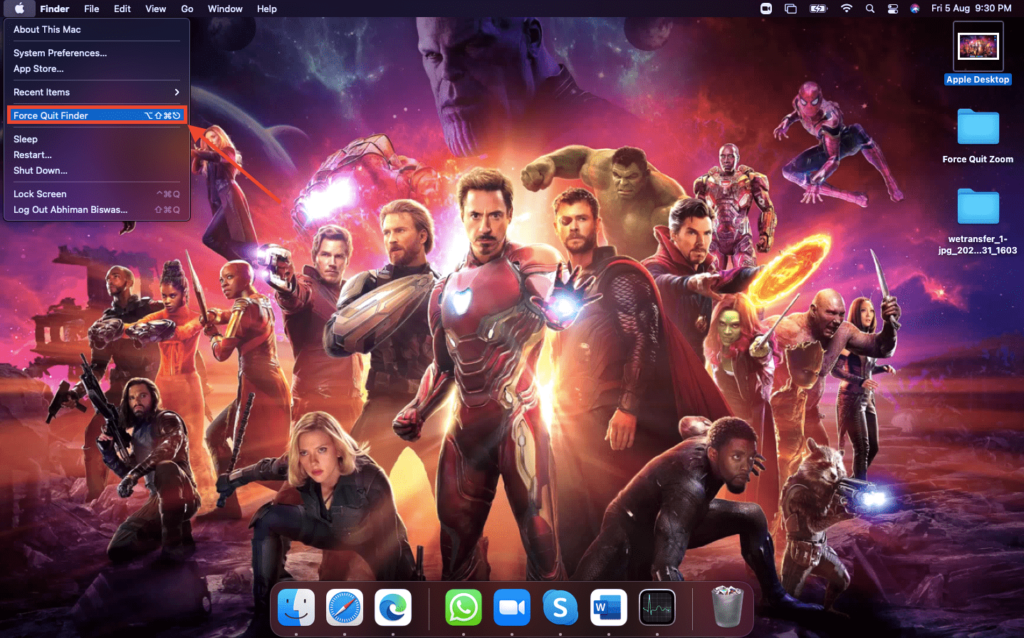
- Go to Desktop and click on the Apple logo on top.
- From the context menu, select Force Quit.
- In the next window, select zoom.us.
- Click on the Force Quit button.
- Open Zoom again after a few minutes.
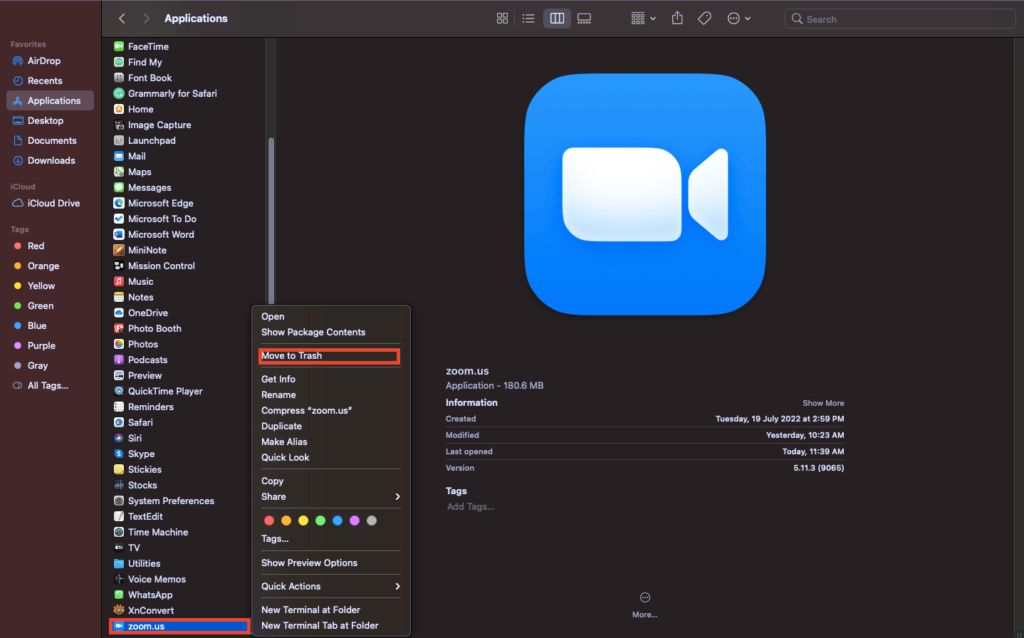
Uninstall And Reinstall Zoom
You can also uninstall and reinstall the Zoom app to reset all permission access and resolve any issues. Here’s how to do so.
- Force Quit the Zoom app using the method above.
- Click on the Finder icon in the Dock and go to Applications.
- Navigate to zoom.us.app and right-click on it.
- Click on Move to Trash in the context menu.
- Restart your Mac, reinstall the Zoom app, and give it the necessary permissions to perform optimally.
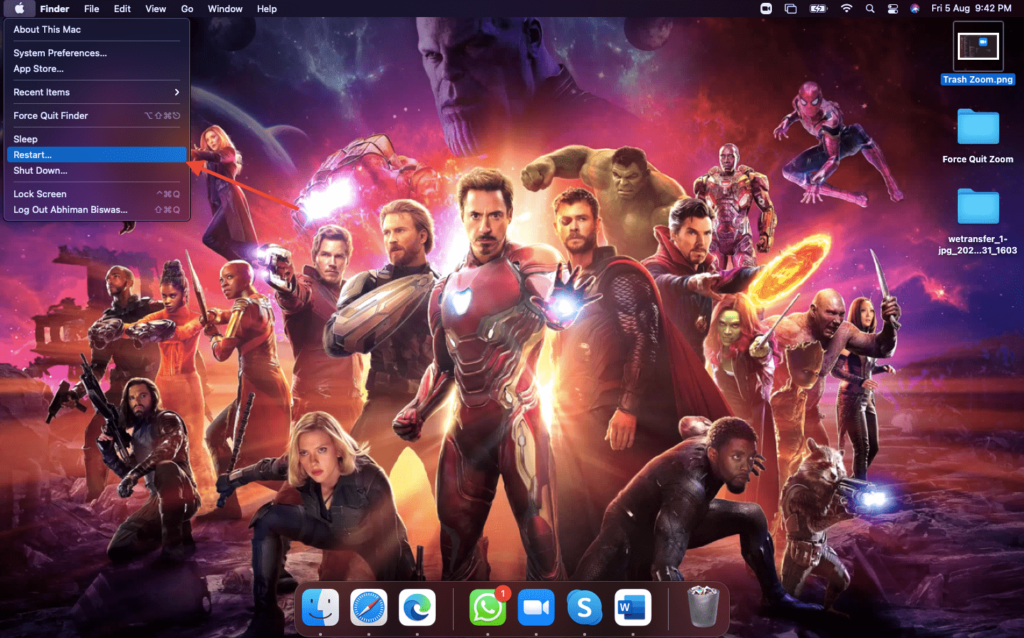
Restart Your Mac
Restarting your Mac will also resolve a host of issues the app might face on the MacBook. Here’s how to do so.
- Go to Desktop and click on the Apple logo on top.
- From the context menu, select Restart.
- Once the MacBook reboots, try using Zoom, which should work correctly.
Why is my Zoom not working on Mac?
It could be because of several reasons like other apps using the camera and microphone, Zoom server down, internet not working at your end, and so on. Make sure to pinpoint the exact cause and try to troubleshoot accordingly.
How do I fix the Zoom on my Mac when it’s not responding?
If Zoom is not responding on your MacBook, you can try several methods to revive it. Start with force quitting the app and restarting your MacBook. Further, you can reinstall the Zoom app, close other apps that might be using mic and camera, and more.
How do I get my Zoom to work on my Mac?
Ensure that you have the Zoom app installed and it has all the necessary permissions required to perform optimally on your MacBook.
Why is Zoom crashing on my Mac?
Zoom app crashes if the internet connectivity is slow or has issues. Look for problems that might hamper your connectivity and fix them to fix Zoom.
Final Words
Zoom is known to face issues on laptops due to various problems. If you are also facing the same, the tips in this article should resolve it for you. As a last resort, installing a fresh copy of the Zoom app and granting all permissions afresh should take care of the problem. Let us know which of these methods worked for you in the comment box.
![]()


![]()