If you are looking for a way to increase the font size of your Windows 11 PC, then below in this blog post, we’re going to share step by step instructions on how to do that.
How to Increase or Decrease Font Size In Windows 11
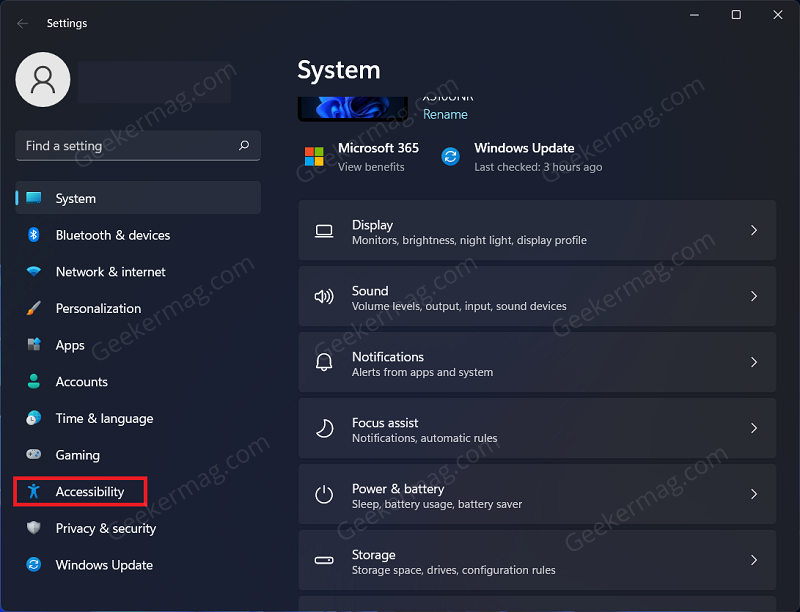
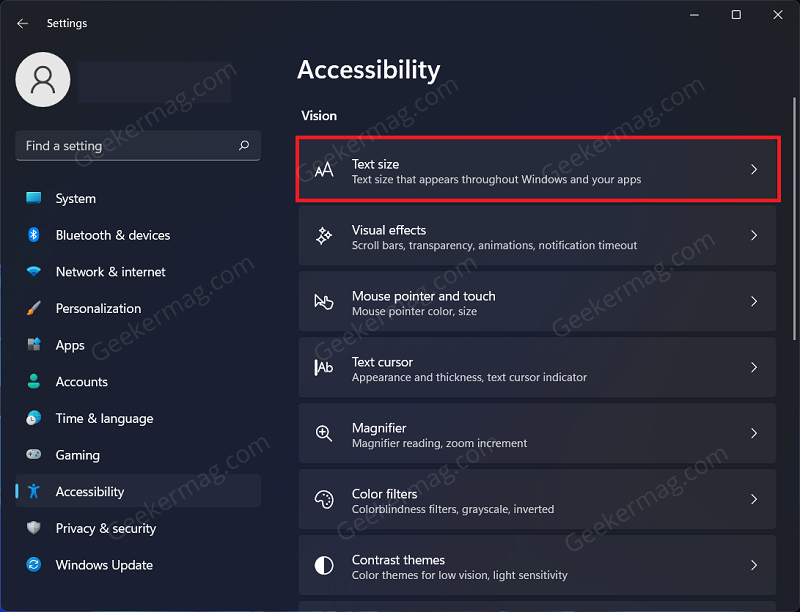
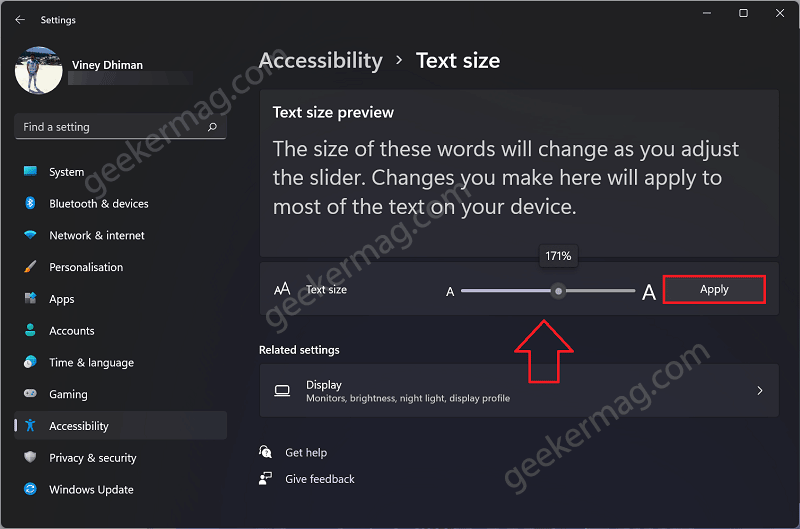
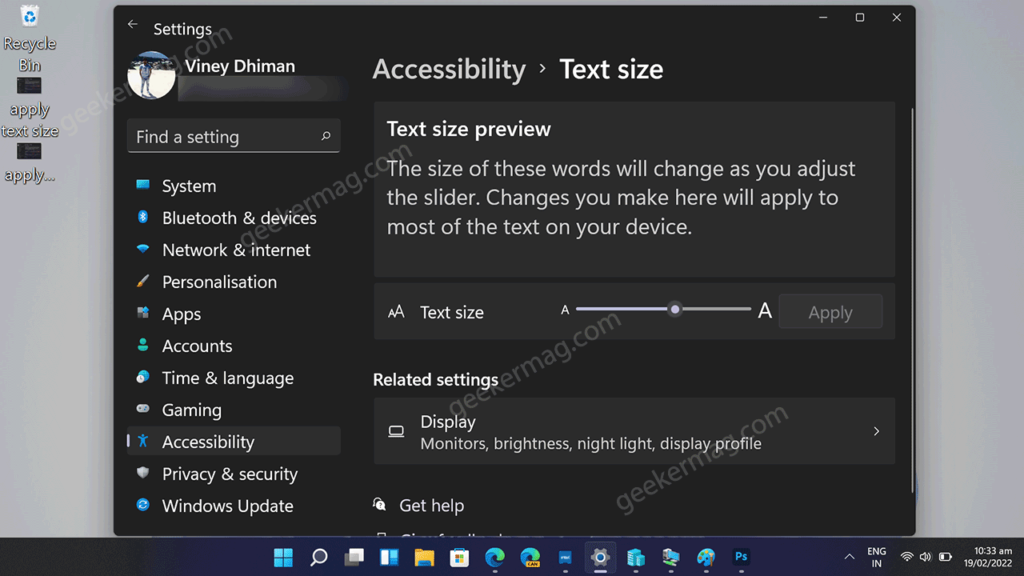
You can increase or decrease the font size on your Windows 11 from the Settings app. Here’s what you need to do: Open the Settings app on your Windows 11 PC by pressing the Windows + I key combo. On the left sidebar of the Settings app, click on Accessibility. Now on the right side of the Accessibility tab, click on Text size. Use the slider located under the Text Size section to increase or decrease the font size. Moving the slider to left side decrease the text size. On the other hand, moving the slider to right side will increase the text size. The size of text is increased or decreased in % and 100% is default size. If you set it to 200%, then font will appear twice the default size. While you’re increasing or decreasing the size using slider, you will also see preview of how will text look like after making changes in Text size preview section. Once you get the preferred text size of your Windows, click on Apply button. Instantly, Please wait screen will appear and once done the new text size will be applied to system wide. This is how it looks like: That’s all about this blog post on how to increase or decrease Text size in Windows 11 PC. I hope this blog post helps.