If you made up to this blog post, then it is highly possible that you want to install Windows Subsystem for Linux on your Windows 11 PC, but don’t know how to do that, right?
How to install Windows Subsystem for Linux (WSL) on Windows 11
Fortunately, Installing WSL on Windows 11 is super easy and in this blog post, we will share each and everything method that you need to know about the installation. So without further ado, let’s start:
Install WSL using Command Prompt in Windows 11
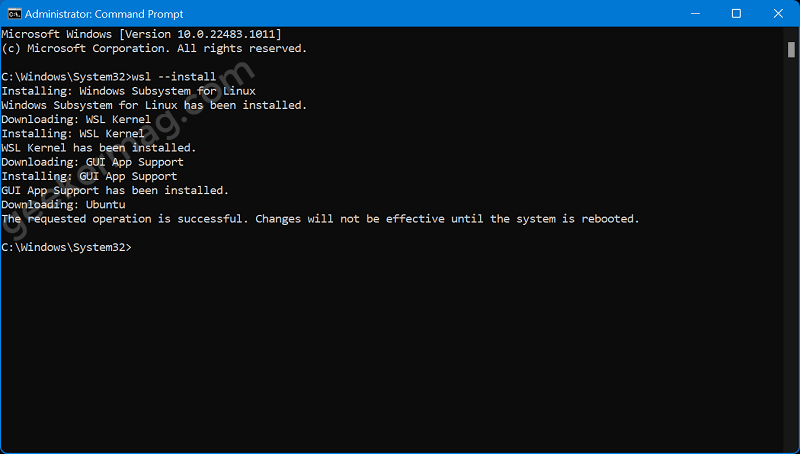
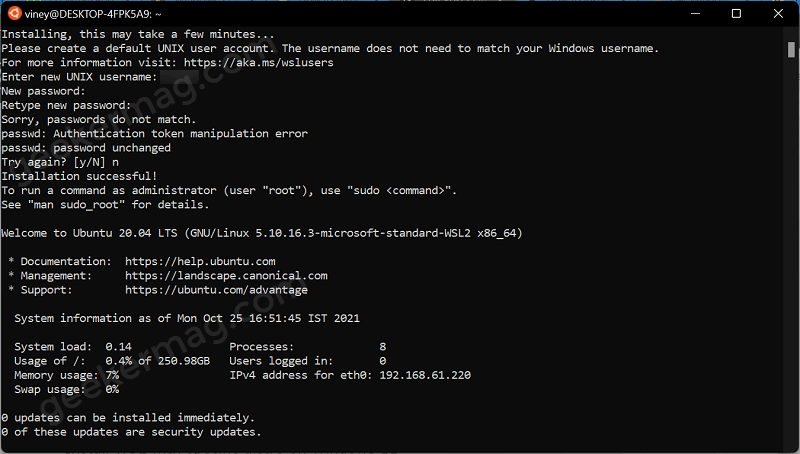
Click on the Search icon available on the Start and type CMD, when it appears in search results, click on Run as administrator. When the UAC dialog box appears, click Yes to continue. Here, you need need to type: wsl –install and hit enter. Instantly, the installation process will start. The process will take around 5-10 minutes. Once done, you will get confirmation that the operation is successful. After that, reboot your computer. This will start the previous installation of WSL. Ubuntu window will open. Here follow the instructions to complete the installation of WSL.
Install WSL with specific distro on Windows 11
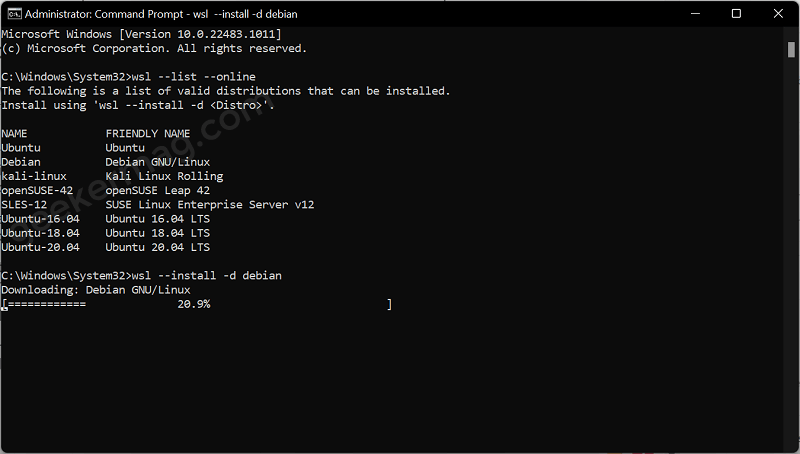
If you want to install Windows Subsystem for Linux with another Linux distribution, then you can try this method to list other options available: In the command prompt, you need to type: wsl –list –online This will show you a list of available Linux Distros. To start the installation with Linux distro of your choice, type this command: wsl –install -d DISTRO-NAME For example, you want to install Debian, then replace the Distro name with Debian in the above command. Instantly installation will start and it will take 5-10 minutes. Again, after you get the confirmation, reboot your device and follow the previous installation.
Update WSL kernel on Windows 11
If you prefer using the command line and want to update WSL, then here’s how you can do that: In the Command prompt window, you need to type this: wsl –update The process will take around 5-10 minutes in which it will check for the latest updates and if available install it. You have to do nothing. Once the process completes, reboot your computer to apply the changes
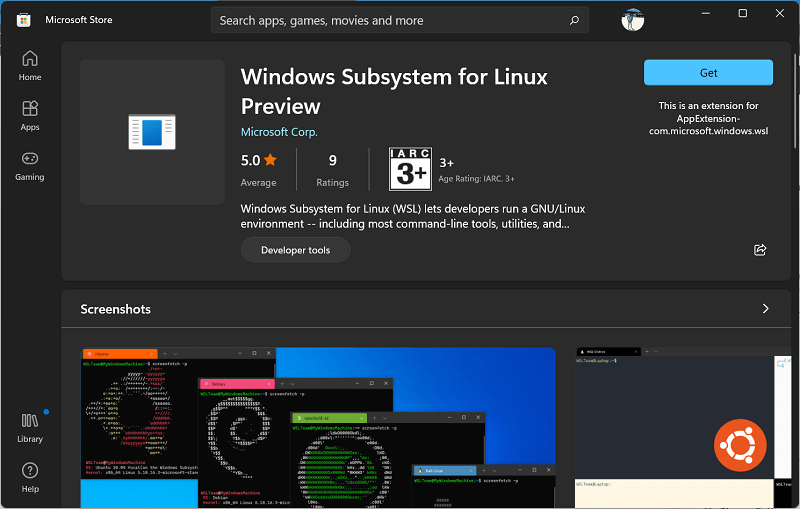
Install WSL from Microsoft Store in Windows 11
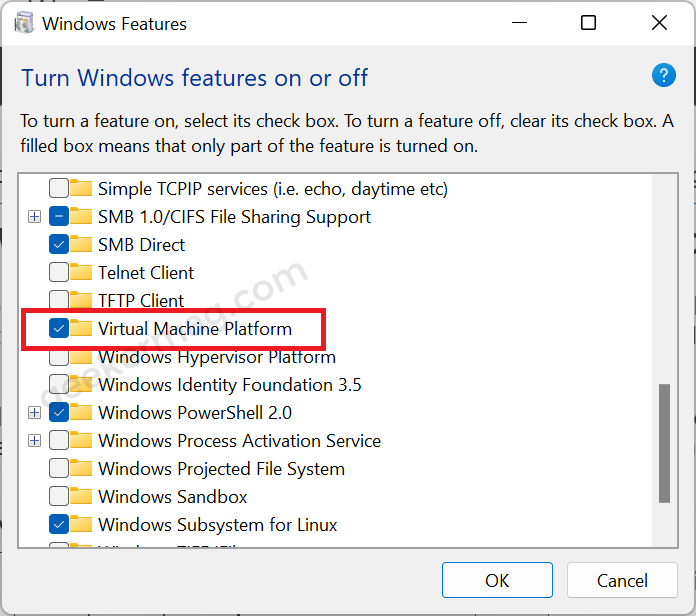
You can also install WSL from Microsoft Store. The advantage of installing it from Store is that you can install regular updates for WSL through Store. Here’s how you can do that: Before installing Windows Subsystem for Linux app from Store. You need to make sure that the Virtual Machine Platform is enabled. Here’s how you can do that: Click on the Search icon available on the Taskbar and type Turn Windows features ON or OFF, when it appears in results, click to open it. This will open Windows feature dialog, here look for Virtual Machine Platform. Once you find it, check the box for it and click OK. The installation of this feature will start. Once done, reboot your computer. After that, head over to this page to download Windows Subsystem for Linux app page. There, click on the Get button and then the Download button to complete the installation of the app. Once installation completes, Windows Subsystem for Linux will install on Windows 11 with support for Linux GUI apps.