In macOS 13 Ventura, Apple has offered a way to lock notes with Mac login password and Touch ID to ensure you no longer need to remember a separate password. Read on to get started!
Lock Notes with Mac Login Password and Touch ID
Before moving ahead, let’s put some more light on this new add-on and the difference it has made!
So, Why It’s Better to Lock Notes with Touch ID and Mac Login Password?
Even though there is no dearth of password managers in the market, nobody wants to manage passwords, do they? That’s the reason why Apple has introduced a more convenient way to lock private notes with Mac’s administrator password and Touch ID. It’s been done to ensure that you no longer need to create a separate password and be forced to remember it for ages. Moreover, it has also eliminated the chances of forgetting the notes’ password, which we all have dealt with at some point or the other. Truth be told. From a security point of view, it’s slightly less secure as anyone who knows the login password of your Mac can easily bump into your notes. If you are someone who puts the must-have safeguard for sensitive information at the forefront of everything, you might not appreciate this change. But for folks who are looking for a painless way to manage private notes, this is going to be a welcome change.
Lock Notes With Mac Login Password and Touch ID
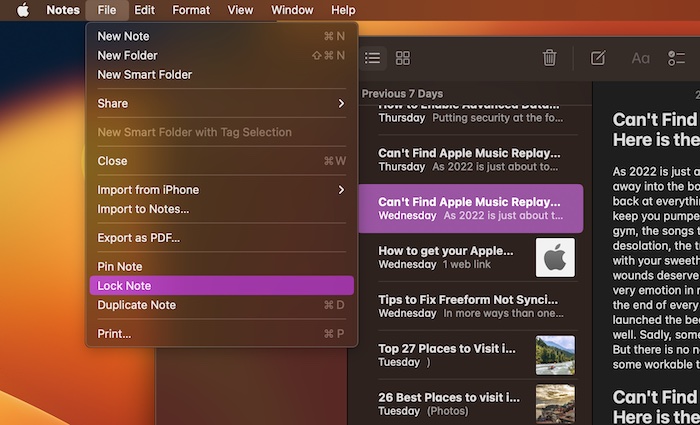
To begin with, open the Notes app on your Mac and then select the note that you want to lock. After that, hit the File menu at the upper left corner of the screen and choose Lock Note in the drop-down menu. Or, just right/control+click on the specific note and choose Lock Note in the menu.
Then, hit Enable Touch ID in the menu to be able to manage your locked notes with biometric authentication.
It’s worth pointing out that there is no restriction on the number of notes that you can lock. Hence, you can make the most of this feature to lock as many notes on your Mac as you want.
Remove Lock from Notes on Mac
At any time, you no longer want to keep the notes locked for any personal reason, you can do so without any hassle.
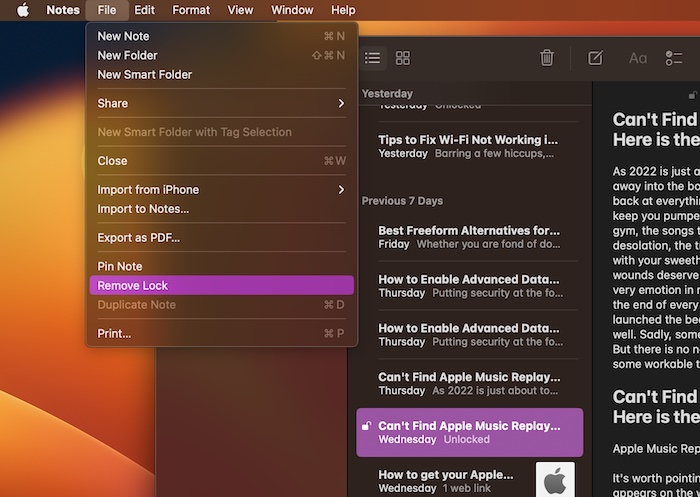
Launch the Notes app on your -> navigate to the note in question and open it. Then, click on the File menu at the upper left corner of the screen and select Remove Lock in the menu. Or, just right/control click on the note, and select Remove Lock in the menu.
Better Way to Safeguard Your Notes from Unauthorised Access
And that’s about! So, these are the straightforward ways to offer an extra layer of protection to your private notes using the login password and biometric authentication. Do you find this new implementation appreciable? It would be nice to know your feedback in the comments section below. Read more: How to Lock Notes With Passcode And Face ID on iPhone in iOS 16