Users can use the Photos app in Windows 10 for various things like they view and edit their photos and videos, make movies, create albums, and even more. Fortunately, it let you merge video files too. In case, you merge videos online or using a third-party for merging two videos into one, then we suggest the Photos app is worth trying. The advantage of using the Photos app over other video editors for merging two video files is that it won’t add a watermark to an output file that other programs do until you purchase the pro plan.
Use Windows 10 Photos app to Merge Videos Files
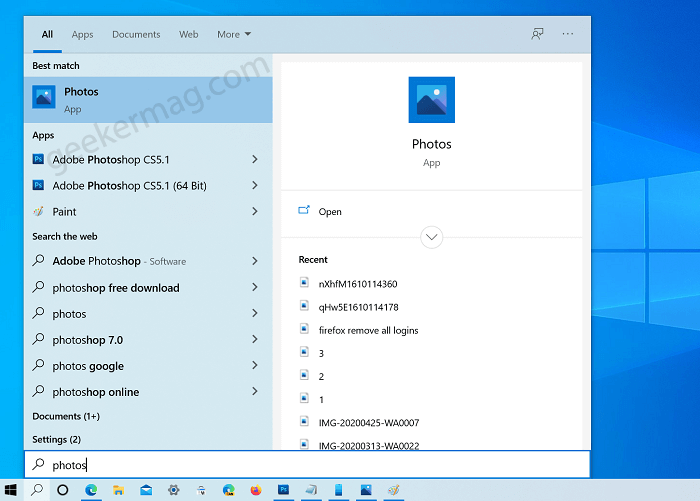
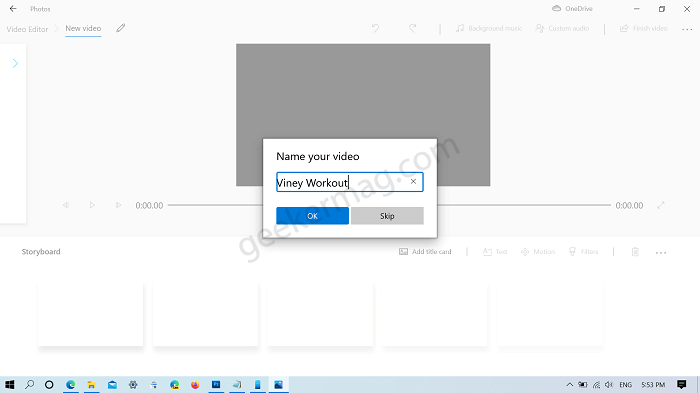
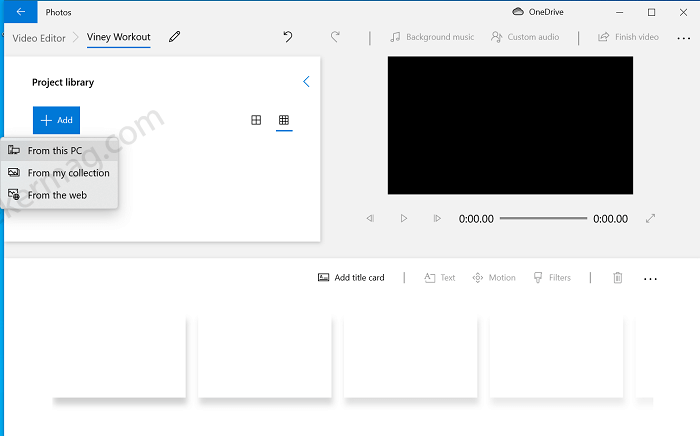
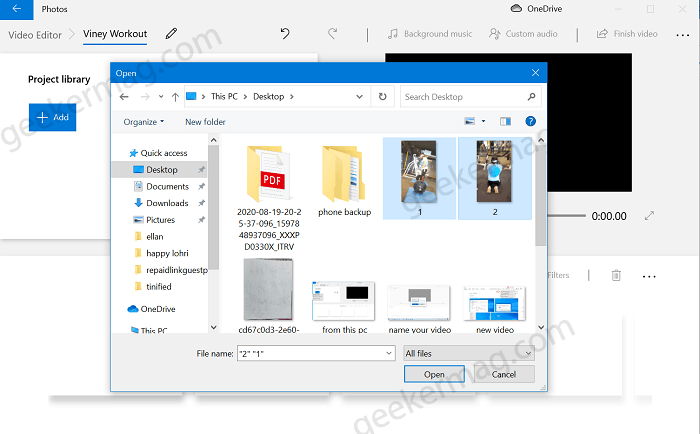
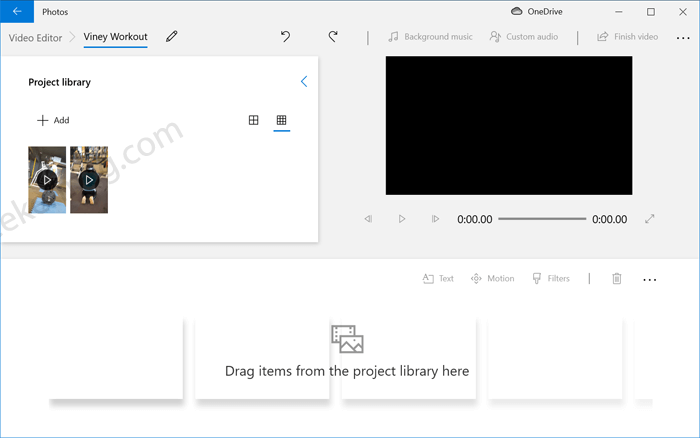
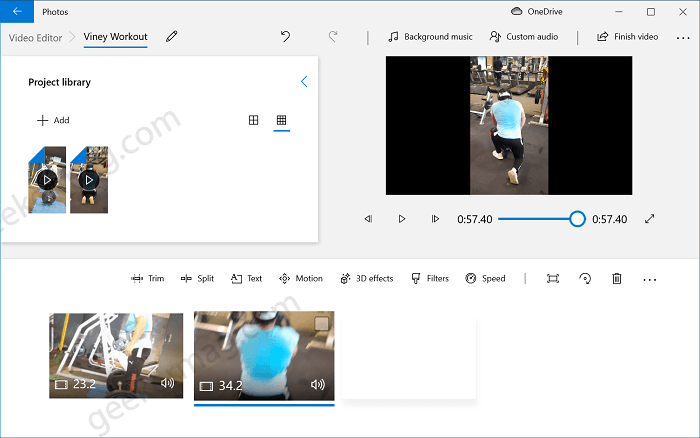
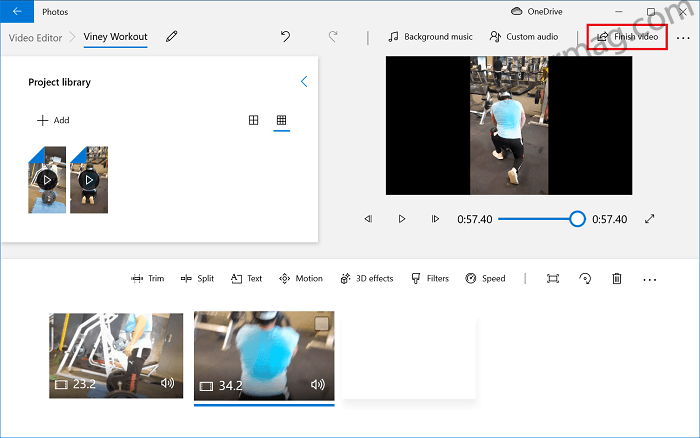
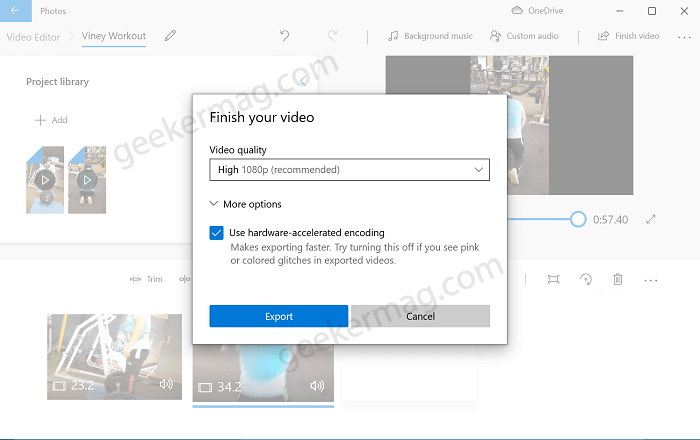
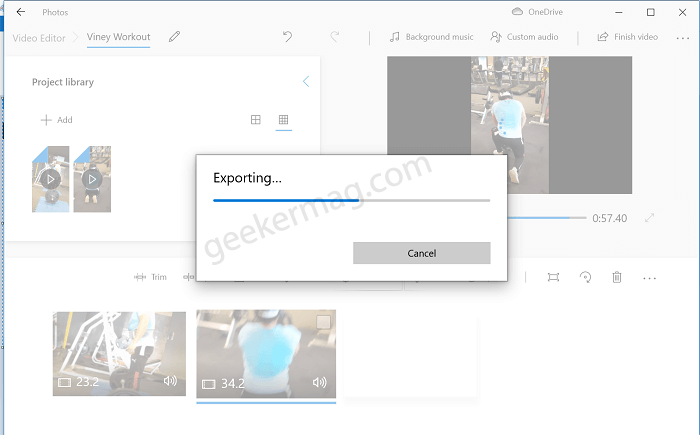
If you’re interested in using Windows 10 Photos app to merge video files, then here’s how you can do that: Open Photos app in Windows 10. For that, type photos in the start menu search and when the same app appears in search results, click to open it. Click on the New Video option available on the upper right side and select Video project from the menu. Doing this will launch Video editor and instantly “name your video” dialog box will appear asking you to give your video a name. You can type a suitable name or if name is not required, then you can click on Skip. In the Project library section, click on the Add button and from the menu select the option from where you want to import videos to the project. For example, we select From this PC. Note – In case, Project library section is not there, then click on the Show or hide (arrow) icon available on the left side of the video editor. Browse window will open, head over to the location where you have saved videos, select videos files, and click Open. Doing this will import both videos files to the project library. Now you need to drag and drop video files from the project library to the storyboard. Tip (It’s upto you) – Now, you’re one step behind in merging both video files, before exporting the merged video, you can also use Photos app video editor perks like add custom background, add text, motion, 3d effect, various filters, and increase or decrease video speed. At last, click on the Finish video button to export merged video file. After doing, Finish your video dialog box will appear, you can select Video quality (High [1080p], Medium [720p], and Low [540px]). You can also click on More options. Here, you can check the box for Use hardware accelerated encoding for making video exporting fast. Note – In case, after exporting the video, if you see pink or colored glitches in exported videos, then uncheck this box. Once done with all the changes, click on the Export button. At last, the Save as window will appear here name the video, and then click the Export button. Note – In this video, we have show you how to merge two videos, but you can merge multiple videos file. So this is how you can merge multiple video files using Photos app in Windows 10. Why don’t you take advantage of this app and let us know if you find it useful? If you know any other way to merge video files, then feel free to share it in the comments.