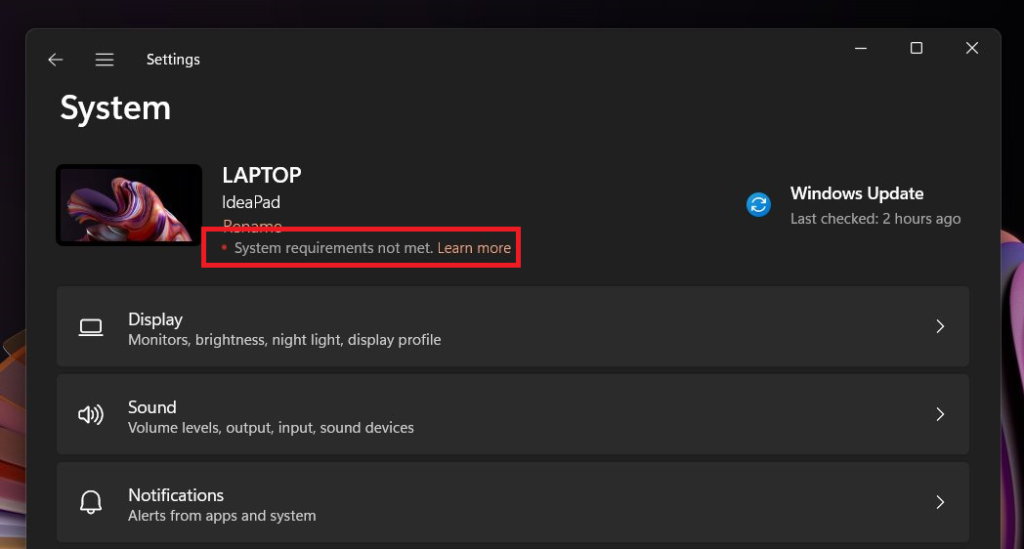
Microsoft has already confirmed that users who have force install Windows 11 on unsupported hardware can face various issues. Apart from that, there’s no guarantees that those PCs will receive regular updates. In case you have installed Windows 11 on PC with unsupported hardware then it soon you will start seeing a watermark with message: According to various screenshots shared by users on the web, the watermark appear on the bottom right corner above the Quick Settings panel. For some users, it appear under PC information header that appear on the top of the settings app. Check following screenshot: Apart from the desktop and settings app it is possible that you might receive notification with same message on the notification area as well. The occurrence of watermark and message will not affect activation status of Windows. The purpose of this message is to remind users that they’re running Windows 11 on PC with unsupported hardware and as a result won’t get better performance and security. As of now, the watermark appeared on the Windows 11 build 22557 in dev channel, but it is highly possible that soon it will appear on the Windows 11 in stable build. Those users who’re seeing this watermark didn’t like it and call it annoying.
How to Remove “System Requirement not met” Watermark in Windows 11
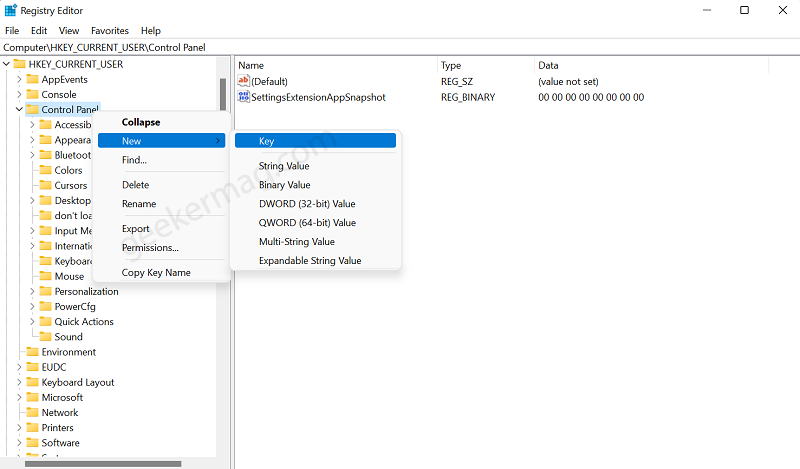
Fortunately, there’s a registry hack available using which users can remove watermark on unsupported PCs in Windows 11. Follow the steps discussed below: Click on the Search icon available on the taskbar and type regedit. When Registry editor appear in search results, click to open it. In the Registry Editor, you need to head over to following key: HKEY_CURRENT_USER\Control Panel\UnsupportedHardwareNotificationCache On the right side, you will find DWORD Value named as SV2. Double-click on it and change its Value data from 1 to 0. Click OK and close Registry Editor. Reboot your computer to apply the changes. In case, “UnsupportedHardwareNotificationCache” subkey is missing under Control panel key , then you can create it. For that, Right-click on the Control Panel > New > Key and then name it UnsupportedHardwareNotificationCache. After that, select it and make a right-click and select New > DWORD (32-Bit) Value and name it SV2. After doing this, you will no longer see the “System Requirement not met” watermark on the desktop and settings app in Windows 11. What is your opinion about the watermark on non-supported PCs on Windows 11 PC? Let us know in the comments. Credit for workaround goes to deskmodder